Introduction To UV Mapping
When creating 3D models for Minecraft or other voxel-based environments, UV mapping plays a crucial role in determining how textures are applied to the model. If you’re using Blockbench, one of the most popular free 3D modeling tools for low-poly and game-ready models, understanding how UV mapping works can make a massive difference in both the visual quality and workflow efficiency of your projects.
Brief Overview of UV Mapping in 3D Modeling
UV mapping is the process of projecting a 2D texture onto the surface of a 3D model. Think of it as unfolding a 3D object into a flat layout that allows textures to be painted or applied accurately. The U and V refer to the axes of the 2D texture as opposed to the X, Y, and Z axes of 3D space. By mapping the surface of your model correctly, you can ensure that textures wrap around your object seamlessly and without distortion.
Importance of Choosing the Right UV Mapping Method in Blockbench
Blockbench offers flexibility when it comes to UV mapping, and selecting the appropriate method can save you both time and effort. Whether you’re creating a Minecraft mob, an animated entity, or a block model, the proper UV method significantly impacts texture accuracy, ease of editing, and in-game model performance.
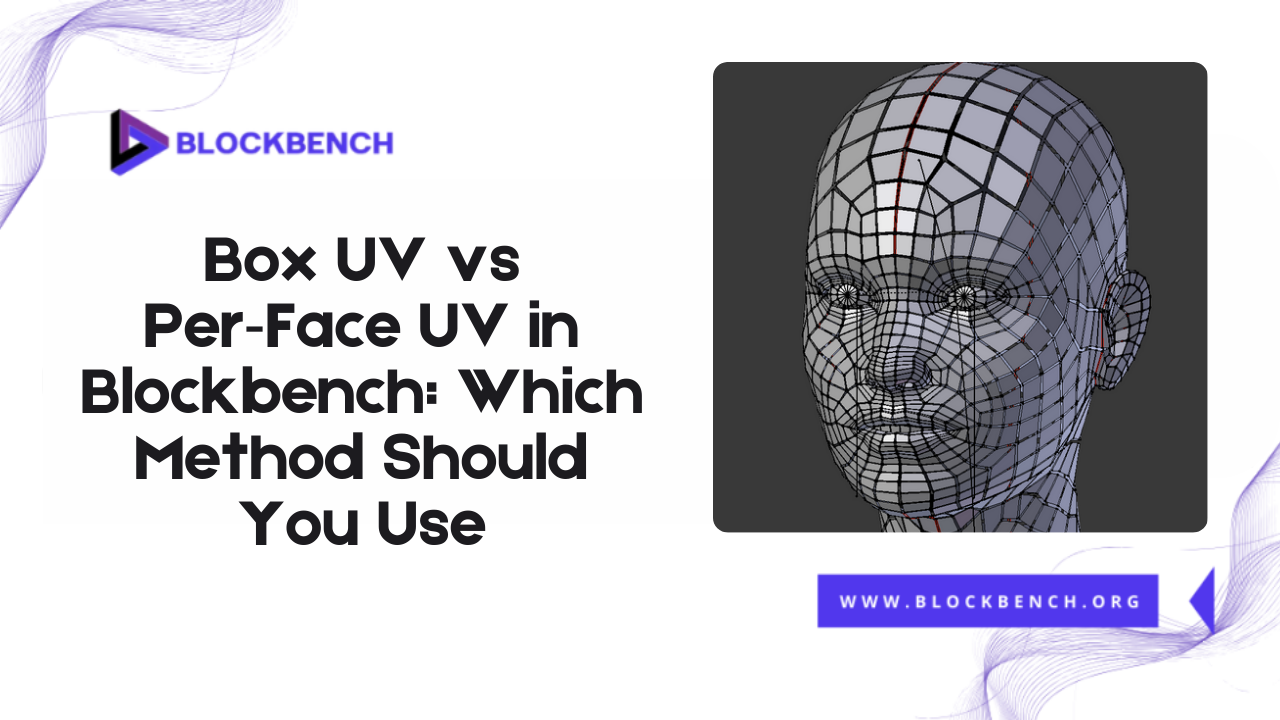
What Is the Difference Between Box UV and Per‑Face UV in Blockbench?
Understanding the difference between Box UV and Per-Face UV in Blockbench is crucial for selecting the appropriate method for your modeling workflow. Both UV mapping techniques serve different purposes and offer varying levels of control, flexibility, and efficiency when applying textures to your models.
Defining UV Mapping in Simple Terms
UV mapping, in simple terms, is like cutting and unfolding a cardboard box to lay it flat. It allows you to apply a texture image to each part of your model, instructing the renderer where every pixel of the image should be positioned on the 3D surface. Without UV mapping, the texture would have no guidance on how to wrap around the shape.
Explanation of Box UV Mapping
Box UV mapping in Blockbench automatically applies the same texture area across all faces of a cube-shaped model, based on a shared mapping box. It’s fast, clean, and ideal for symmetrical shapes or blocky designs, like Minecraft-style models. You can adjust the entire texture layout uniformly without needing to modify each face individually, which significantly speeds up simple modeling tasks.
Explanation of Per-Face UV Mapping
Per-Face UV, on the other hand, allows each face of the model to have its independent UV coordinates. This means you can precisely control which part of the texture appears on each face. It offers more flexibility especially for detailed or irregular models but it also requires more manual effort to align textures and maintain consistency.
Key Technical Differences Between the Two
Technically, Box UV uses a unified texture projection for all sides of a cube, reducing the number of individual UV islands in your texture layout. This makes it easier to maintain consistency, but less flexible. Per-Face UV generates a separate UV island for each face, giving complete control at the cost of complexity.
How UV Mapping Works in Blockbench
UV mapping in Blockbench is a streamlined, visual process that determines how a 2D texture image is applied to the surfaces of your 3D model. It acts as a bridge between the flat texture and the three-dimensional geometry ensuring that every pixel is placed in the correct position. At the core of this process is the UV interface which allows you to view and manipulate how each face of your model is mapped onto the texture.
Understanding Blockbench’s UV Interface
Blockbench features an intuitive UV interface that displays your model’s texture mapping in real-time. When you click on a cube or face the corresponding UV area is highlighted in the UV editor. This interface allows you to scale, move and rotate texture coordinates, enabling you to align textures precisely where you want them.
Manual UV Mapping vs. Auto UV
Blockbench supports both manual UV editing and an Auto UV feature. Manual mapping provides complete control, but it can be time-consuming for complex models. Auto UV, on the other hand, automatically assigns UV coordinates based on model geometry, saving time especially for symmetrical or straightforward objects. However Auto UV may not produce clean results for detailed or organic shapes, making manual tweaking necessary.
Overview of UV Editor in Blockbench
The UV Editor in Blockbench is where you see the texture layout and how it wraps around your model. You can drag and resize UV boxes, switch between Box UV and Per-Face UV, and even apply transformations to align your textures. It’s the central workspace for managing how textures interact with your 3D shapes, and mastering it is crucial for high-quality model texturing.
Blockbench UV Mapping: Core Concepts Explained
blockbench uv mapping in Blockbench is the process of defining how a 2D texture is applied to the surfaces of your 3D model. It’s an essential step in bringing your models to life visually, and understanding the core concepts behind UV mapping will help you create cleaner, more professional textures.
What Is UV Unwrapping?
UV unwrapping is the process of flattening a 3D model’s surface into 2D space, allowing textures to be applied accurately. In Blockbench, this process is simplified, especially for cube-based or low-poly models. However, the core principle remains the same: using uv mapping blockbench to map 3D geometry onto 2D texture space while minimizing stretching, distortion, and misalignment.
Importance of Texture Alignment
Proper texture alignment ensures that your model looks clean and consistent. Misaligned textures can create visual seams, mismatched edges, or stretched pixels, reducing overall visual quality. Good UV alignment is especially critical when using tileable textures or designing skins for Minecraft entities, where each pixel matters. Learning from a Blockbench UV mapping tutorial can help you master precise UV placement and achieve professional-quality results.
How Blockbench Handles Texture Painting with UV Mapping
Blockbench allows real-time texture painting directly onto the 3D model or within the 2D texture workspace. The UV mapping determines the location of each paint stroke on the model. Whether you’re painting manually or using external textures, accurate UV mapping ensures your artwork appears exactly where you intend, without warping or errors.
Exploring Blockbench Auto UV Feature
The Auto UV feature in Blockbench is designed to simplify and speed up the UV mapping process by automatically generating UV coordinates for your model. Instead of manually unwrapping each face Auto UV uses the model’s geometry to create a quick UV layout, making texturing more accessible especially for beginners or when working on simple models.
What is Auto UV in Blockbench?
Auto UV is a powerful feature in Blockbench that automatically generates UV maps for your 3D models without requiring manual adjustments. It quickly assigns UV coordinates to your model’s faces based on its geometry, streamlining the texturing process. Auto UV is especially useful for beginners or for simple models where precision mapping is less critical.
Pros and Cons of Using Auto UV
The main advantage of Auto UV is speed. It dramatically reduces the time needed to unwrap your model and get textures applied. However, this convenience comes with trade-offs. Auto UV can sometimes create overlapping UVs or produce texture stretching on complex shapes, which can degrade visual quality. For detailed or intricate models, relying solely on Auto UV may require additional manual fixes.
Use Cases Where Auto UV Is Effective
Auto UV works best on symmetrical or blocky models with simple textures, such as Minecraft blocks or basic props. It is ideal when you need quick results or when textures don’t require precise alignment. For prototype models or games with low texture detail, Auto UV is a great time saver.
Box UV Mapping in Blockbench: When and Why to Use It
Box UV mapping in Blockbench is a straightforward and efficient method that projects a single, unified texture layout onto your entire model. This technique works by wrapping the texture around the model, as if it were enclosed in a box, making it ideal for certain types of 3D models.One of the primary advantages of Box UV is its speed and ease of use.
Advantages of Box UV
Box UV mapping applies a single, unified UV projection to your entire model, making it fast and easy to use. It provides uniform texture distribution across all faces, ensuring consistent detail and simple editing. This method works very well with cubic or symmetrical shapes where all sides share similar texture areas.
Situations Where Box UV Is Ideal
Box UV mapping is especially well-suited for block-based models and low-detail assets where texture consistency is more critical than per-face customization. It shines in environments like Minecraft modeling, where characters, items, and blocks are typically composed of cube-shaped elements that can easily share a uniform texture layout.
Limitations of Box UV in Complex Models
Despite its simplicity and efficiency, Box UV comes with several limitations, particularly when applied to complex or non-symmetrical models. Since it projects a uniform texture across all faces using a single UV space, you lose the ability to independently control each face’s texture placement. This becomes a significant drawback when working with models that require unique face designs, such as characters with facial features, props with text or logos, or detailed mechanical components
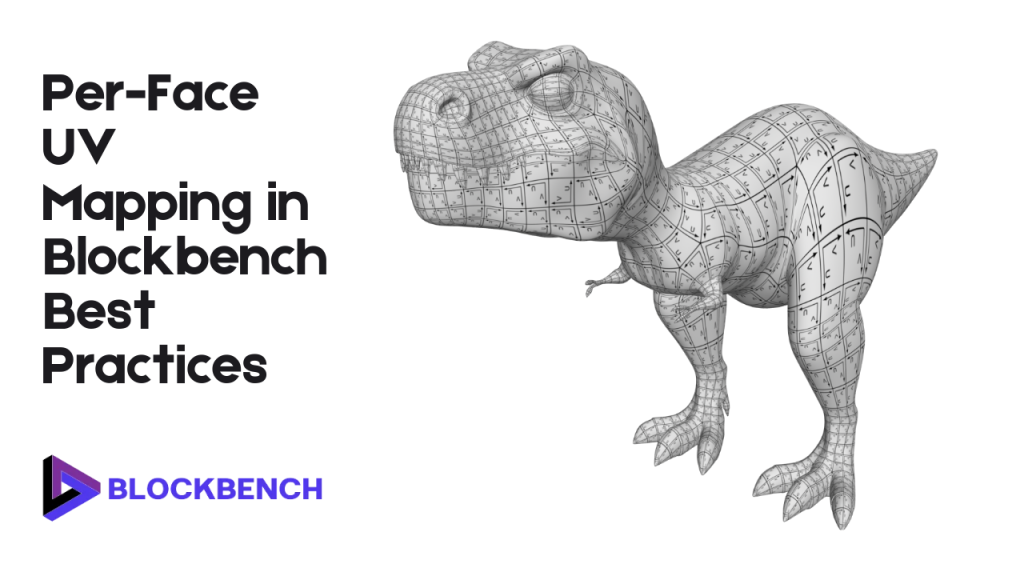
Per-Face UV Mapping in Blockbench: Best Practices
Per-Face UV mapping in Blockbench offers unparalleled precision, allowing you to assign unique texture coordinates to each face of your 3D model. This method is essential when your project requires detailed, custom textures on individual faces, such as character skins, intricate items, or complex props. One of the key benefits of Per-Face UV is the manual control it gives you over texture placement.
Benefits of Per-Face UV for Detailed Texturing
Per-Face UV mapping offers complete control over how textures are distributed across your model, allowing each face to use a unique section of the texture. This is ideal for detailed texturing, especially when working on models that require custom artwork or specific visual elements on individual surfaces. Unlike Box UV, it eliminates overlapping UVs, ensuring cleaner, sharper textures with no distortion.
Manual Control and Precision Mapping
One of the biggest strengths of Per-Face UV is its precise, manual control over UV islands. You can scale, move, and align each face individually to match exact areas of the texture, which is essential for logos patterns or directional designs. This flexibility is crucial for models like characters, tools or props where every side might have a different appearance.
Challenges and Time Investment
The downside is that Per-Face UV requires more effort and skill. Manually aligning each face’s UV can be time-consuming, especially for complex models, and mistakes can lead to texture seams or distortion if not carefully managed.
Which UV Mapping Method Should You Use in Blockbench?
Choosing the proper UV mapping method in Blockbench depends mainly on the complexity of your model, the level of detail required, and your workflow preferences.
Both Box UV and Per-Face UV have distinct advantages and are suited for different types of projects. For simple, blocky models, such as Minecraft-style blocks, basic props or low-poly designs, Box UV mapping is often the best choice.
Choosing Based on Model Complexity
Box UV:
- Best for simple models like blocks, crates, or basic tools.
- Easy to apply with minimal manual adjustments.
- Delivers quick, uniform texturing results.
Comparing Visual Results
In terms of appearance, Box UV mapping tends to give your model a clean and consistent texture layout across all faces.
This is perfect for stylized, low-detail, or Minecraft-style models, where uniformity is an integral part of the design. However, this method can feel visually repetitive if your model requires individual textures for each face. Per-Face UV, on the other hand allows for more variation and creativity;
Performance and Optimization Tips
From a performance standpoint, Box UV typically results in fewer UV islands and smaller texture files, which can improve game performance. Per-Face UV may increase texture complexity and size but is necessary when unique textures per face are essential.
Common UV Mapping Mistakes to Avoid in Blockbench
UV mapping is a critical step in 3D modeling, but it’s easy to make mistakes that can hurt the final texture quality. When working in Blockbench, being aware of common pitfalls can save you from frustration and significantly improve your models. One of the most frequent errors is overlapping UVs.
Overlapping UVs
One of the most common mistakes in UV mapping is allowing UV islands to overlap with each other. This occurs when multiple faces of your model share the exact coordinates on the texture map, unintentionally overlapping each other. The result is that these faces will display the same part of the texture, often causing confusing or broken visuals.
Inconsistent Scaling
Uneven scaling of UV islands can cause severe texture distortion. If some faces are s
called larger or smaller than others in the UV map, the texture will appear stretched, squished, or blurry on those parts of the model. This inconsistency breaks the visual flow and makes your model look unpolished or unprofessional. For clean, high-quality results ensure that all UV islands are scaled proportionally especially when working with grid-based or pixel-art textures, such as in Minecraft modeling.
Ignoring Texture Resolution
Failing to consider the impact of texture resolution is another standard UV mapping error. If your UV islands are packed too tightly or assigned too little space on a low-resolution texture, your model may appear blurry or pixelated, especially in close-up views or when using HD texture packs. On the other hand, overusing a large texture file for a small model can be wasteful of resources.
Relying Too Much on Auto UV
While Auto UV in Blockbench is a great time-saving feature, overrelying on it can compromise the texture quality of your model. Auto UV generates quick UV layouts, but they’re often not optimized, resulting in overlapping faces, inefficient space utilization, or poor alignment. If not manually reviewed and corrected, these issues can result in messy textures, seams, or distortion.
Expert Tips for Efficient UV Mapping in Blockbench
Mastering UV mapping in Blockbench can significantly enhance the quality of your 3D models while saving you time during the texturing process. Here are some expert tips to help you get the most out of your UV workflow: First, make full use of grid snapping and alignment tools within Blockbench’s UV editor.
Using Grid Snapping and Alignment Tools
Grid Snapping: Ensures UV islands align neatly for precise texturing.
Alignment Tools: Allow exact positioning of UV islands on the texture map.
Pixel Accuracy: Snapping to the pixel grid maintains consistent texture density.
Style Consistency: Especially useful for pixel art and Minecraft-style textures.
Combining Auto UV with Manual Tweaks
One of the most effective UV workflows in Blockbench is to start with Auto UV for a quick initial layout, then make manual adjustments to refine the result. Auto UV saves time by automatically generating UV islands, but it often requires cleanup to address overlapping areas, improve alignment, or optimize texture usage. By combining both approaches, you get the speed of automation with the precision of manual control.
Exporting Textures Cleanly
Before exporting your textures from Blockbench, it’s crucial to review your UV layout for cleanliness and accuracy. Overlapping islands, tiny gaps, or unaligned faces can result in confusing outcomes when painting or texturing your model externally. A clean UV layout ensures that every face of your model gets the right part of the texture and that details appear crisp and clear in-game or during rendering.
Conclusion
Selecting the correct UV mapping method in Blockbench can significantly enhance the quality and efficiency of your 3D modeling workflow. Box UV is ideal for simple, blocky models where speed and uniformity are most important making it a favorite for Minecraft-style creations and quick projects. On the other hand Per-Face UV offers unmatched control and precision, perfect for detailed models that require unique textures on each face.
FAQs
What is UV mapping in Blockbench, and why is it important?
UV mapping is the process of projecting 2D textures onto a 3D model’s surface. It’s essential for accurate texture placement and visual detail in your models.
Is Box UV better for Minecraft models?
Yes, Box UV is ideal for Minecraft-style blocky models because it provides fast and consistent texture mapping, suited to cube shapes.
Can I switch between Box UV and Per-Face UV mid-project?
Yes, Blockbench allows switching between these methods, but be cautious, as it may require reworking your UV layout to avoid texture issues.
Does Auto UV affect texture quality?
Auto UV speeds up mapping but can sometimes create overlaps or misalignments, potentially lowering texture quality if not manually adjusted.
How do I fix overlapping UVs in Blockbench?
Use the UV editor to separate overlapping islands by moving or scaling them apart ensuring each face maps to a unique texture area.
Can I use external texture maps with Blockbench UVs?
Yes you can import and apply custom external textures aligning your UVs to fit these maps precisely.
What’s the best way to learn UV mapping in Blockbench?
Start with simple models, practice both Box and Per-Face UV methods, and use tutorials to understand manual adjustments and texture alignment.
Latest post:

Harold F. Rodriguez
Harold F. Rodriguez, the visionary mind behind blockbench.org, is a passionate and innovative individual dedicated to the world of technology. With a profound understanding of software development and a commitment to excellence, Harold has carved his niche in the digital realm. His journey is marked by a relentless pursuit of creating user-friendly solutions that redefine the landscape of online platforms. As the driving force behind blockbench.org, Harold continues to inspire and contribute to the ever-evolving tech community, leaving an indelible mark on the intersection of creativity and technology.