Introduction
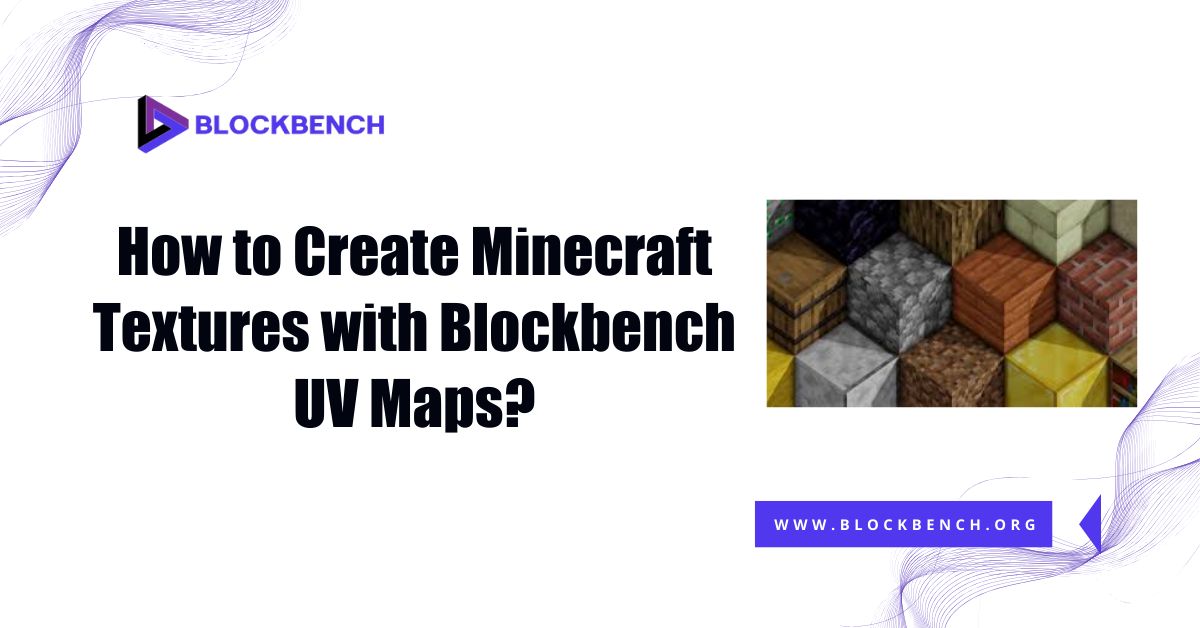
Creating detailed and visually appealing Minecraft textures requires more than just artistic skill; it demands a solid understanding of UV mapping. Blockbench UV maps play a crucial role in accurately wrapping textures onto Minecraft models, ensuring that every pixel aligns perfectly with the 3D surfaces.
As a powerful and user-friendly modeling tool Blockbench provides all the necessary features to design unwrap and paint textures that fit Minecraft’s unique blocky aesthetic.
Importance of UV Mapping in Minecraft Texture Creation
UV mapping is essential in Minecraft texture creation because it determines how 2D textures are applied to 3D models. Without accurate Blockbench UV maps, textures can stretch, misalign or appear distorted on Minecraft models. Proper UV mapping ensures that every part of the texture fits perfectly on the blocky geometry preserving the game’s signature look..
What Are Blockbench UV Maps and Why Do They Matter in Minecraft?
Blockbench UV maps are 2D representations of your 3D model’s surfaces, flattened out so textures can be precisely applied. These maps are crucial for Minecraft because they dictate exactly where textures appear on each part of the model. Without properly created UV maps, textures may overlap or look stretched ruining the intended design. UV mapping ensures that Minecraft textures align with the model geometry producing clean and professional results.
Definition of UV Maps in Blockbench
In Blockbench a UV map is the flattened layout of a model’s surfaces, shown in the UV Editor. This map allows you to see and manipulate how textures correspond to different faces of your Minecraft model. UV maps help you organize textures so that each part of the model receives the correct portion of the image. This makes Blockbench UV mapping a vital step in creating detailed and accurate Minecraft textures.
How UV Mapping Affects Minecraft Texture Accuracy
UV mapping directly influences the accuracy of Minecraft textures by controlling how images wrap around 3D models. Precise UV layouts prevent texture stretching, ensuring that patterns and colors appear exactly as intended on Minecraft characters, items, and blocks. Misaligned UV maps can cause visual glitches and compromise the immersive experience of the game. Proper UV mapping is the backbone of high-quality Minecraft texture design.
Role of UV Maps in Minecraft Model Texturing
UV maps act as the blueprint that connects 2D textures to the 3D surfaces of Minecraft models. They define which part of a texture corresponds to each polygon, enabling detailed and custom texturing. Without well-crafted UV maps, texture painting becomes a matter of guesswork, often leading to errors and inconsistent visuals. In Minecraft, UV maps enable the creative freedom necessary to produce unique skins, mobs, and objects.
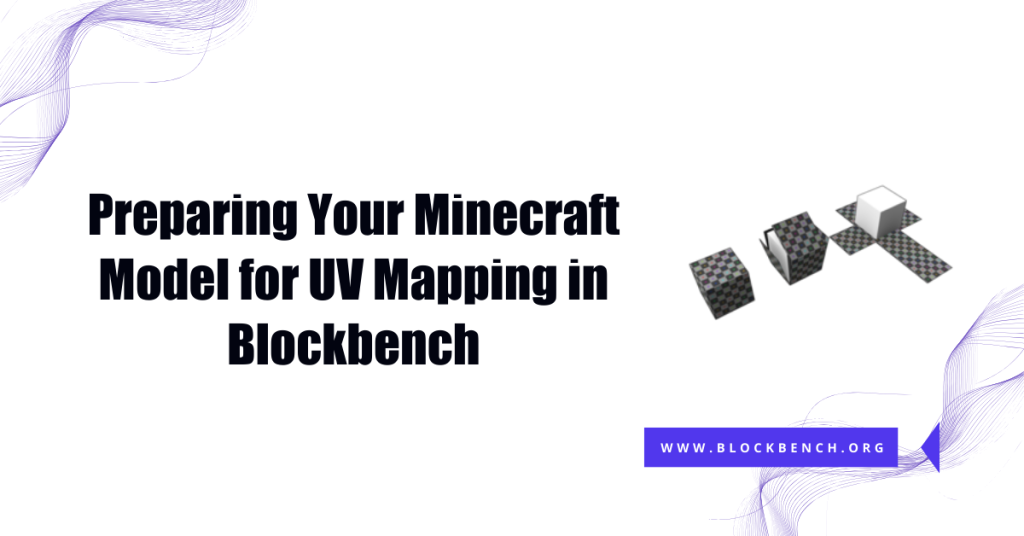
Preparing Your Minecraft Model for UV Mapping in Blockbench
Before starting UV mapping, it’s essential to organize and prepare your Minecraft model in Blockbench. This includes cleaning up geometry, grouping related parts, and applying any necessary transformations. Proper setup ensures that your UV mapping process is smooth and efficient. Well-prepared models help prevent UV overlapping and texture errors, making your Minecraft texture work more precisely.
Importing or Creating Minecraft Models in Blockbench
Blockbench supports importing existing Minecraft models or creating new ones from scratch. Whether you start with a standard Minecraft mob or design a custom item, you can easily bring the model into Blockbench for UV mapping. The software’s Minecraft-centric tools and presets help speed up the modeling and texturing workflow. This flexibility makes Blockbench a go-to tool for Minecraft creators.
Setting Up Your Model for Optimal UV Mapping
Setting up your model correctly involves ensuring all parts are properly aligned and scaled. You should remove any unnecessary faces and verify that there is no overlapping geometry. Organizing your model hierarchically in Blockbench makes UV mapping simpler, especially for complex Minecraft models. A clean setup ensures that your UV maps are clear, organized, and ready for detailed texture application.
Tips for Organizing Model Parts Before Unwrapping
To achieve effective UV maps, organize your model parts logically by grouping related geometry. Labeling and separating limbs, body parts, or accessories helps keep the UV Editor uncluttered. This organization facilitates the strategic placement of seams and the unwrapping of models without overlapping UV islands. Good preparation leads to cleaner, more manageable Blockbench UV maps and better Minecraft textures.
Manual vs. Auto UV Mapping in Blockbench
Blockbench offers both manual and Auto UV mapping options. Manual mapping provides complete control over seam placement and UV island arrangement, making it ideal for creating detailed Minecraft textures. Auto UV quickly unwraps the model based on default settings, saving time on simple models but sometimes sacrificing precision.
Choosing the correct method depends on the complexity of your project and the level of detail required in your Minecraft textures.
Using the Seam Tool for Minecraft Models
The Seam Tool in Blockbench helps you mark edges where the model will be cut to create UV islands. Proper seam placement is crucial for minimizing texture stretching and visible seams in Minecraft textures. Using this tool effectively lets you control how the model unfolds in the UV Editor making texture painting cleaner and easier. For Minecraft models seams should be placed along natural breaks or hidden areas.
Unwrapping the Model and Adjusting UV Islands
Unwrapping in Blockbench converts the 3D model into 2D UV islands, which you can move, scale, and rotate to optimize texture placement. Adjusting UV islands helps reduce overlapping and distortion, ensuring your Minecraft textures look sharp and accurate. Fine-tuning these islands in the UV Editor is key to aligning textures properly, especially on detailed or complex models.
Designing Minecraft Textures Using Blockbench UV Maps
Designing Minecraft textures using Blockbench UV maps allows you to paint textures that fit perfectly on your 3D models. By working directly with UV layouts, you can position colors, patterns, and details exactly where they will appear on the Minecraft model. This precision helps avoid texture misalignment creating more immersive and professional-looking Minecraft skins and items.
Exporting UV Layouts for External Texture Painting
Exporting your UV layout from Blockbench as an image file is essential for detailed external painting. Artists often use software like Photoshop or GIMP to paint directly on these UV maps, ensuring textures align perfectly on the model. Clean Blockbench UV maps with well-placed seams make this process easier and reduce errors during texture application. Exported UV layouts act as a template, streamlining your Minecraft texture creation workflow.
Aligning Textures Precisely on Minecraft Models
Accurate alignment of textures on Minecraft models relies on well-organized UV maps within Blockbench. By adjusting UV islands and seams you control exactly how each part of the texture wraps around the model’s faces. This prevents issues such as stretched or skewed textures, which can disrupt the Minecraft aesthetic. -Careful alignment ensures your Minecraft textures look sharp, consistent, and visually appealing in-game.
Avoiding Common Texture Stretching and Seams
Texture stretching and visible seams are common issues in Minecraft texture design, but they can be avoided through proper UV mapping blockbench techniques. Using Blockbench’s UV m-aps to strategically place seams and adjusting UV islands reduces distortion. Seam placement along natural edges and hidden model parts minimizes texture breaks, creating smoother visual transitions. Preventing these issues improves the overall quality of Minecraft textures.
Optimizing Minecraft Textures with Blockbench UV Mapping Techniques
Optimizing Minecraft textures means using Blockbench’s UV tools to maximize texture space and minimize errors. Grid snapping and precision alignment help maintain uniform texture detail and reduce inconsistencies. Stitching UV islands together where appropriate allows for continuous texture flow, while separating others provides control over distinct areas.
Using Grid Snapping and Alignment for Cleaner Textures
Blockbench’s grid snapping and alignment tools simplify the UV mapping process, helping you position UV islands precisely. This leads to cleaner and more organized UV layouts, reducing overlaps and irregular scaling. Grid snapping is especially useful when creating Minecraft textures that require uniform patterns or pixel-perfect details. Proper alignment supports consistent texture quality across the model.
Stitching and Separating UV Islands for Detail Control
Stitching UV islands connects separate faces into a single, continuous texture area, ideal for seamless Minecraft textures. Conversely separating islands allows detailed control when different parts of the model need distinct textures. Using Blockbench’s stitching and separation tools effectively balances smooth texture flow with the flexibility to customize specific sections, enhancing Minecraft texture design precision.
Testing Textures Within Blockbench and Minecraft
After applying textures, testing within Blockbench’s preview mode helps spot stretching, misalignment, or seam issues early. Once satisfied, testing the textured model inside Minecraft or the target game engine confirms that textures display correctly under real lighting and gameplay conditions. This iterative testing ensures that your Blockbench UV maps and Minecraft textures meet both visual and technical standards.
Troubleshooting Common Issues in Minecraft Texture Creation
Common issues, such as overlapping UVs, texture distortion, and visible seams, can compromise Minecraft’s texture quality. Using Blockbench’s UV editor tools to identify and correct overlapping UV islands helps fix many problems. Adjusting seam placement and scaling can help reduce distortions. Ensuring your texture resolution matches Minecraft’s standards also prevents pixelation and blurriness maintaining a clean professional look.
Fixing Overlapping UVs and Texture Distortion
Overlapping UVs cause multiple faces to share the same texture space, resulting in visual glitches and artifacts. To fix this, carefully separate UV islands in Blockbench and check for overlaps in the UV editor. Rescaling and repositioning islands help maintain consistent texture detail, eliminating distortion. Proper UV layout management is key for flawless Minecraft textures.
Handling Visible Seams and Alignment Errors
Visible seams often occur when textures don’t align perfectly across UV islands. In Blockbench, repositioning seams to less visible model areas and adjusting UV islands can reduce this issue. Using continuous textures and stitching UV islands also helps maintain alignment. Proper seam management ensures Minecraft textures look smooth and cohesive.
Ensuring Texture Resolution Matches Minecraft Standards
Maintaining the correct texture resolution is crucial for Minecraft textures to appear crisp and clear. Blockbench UV maps should be scaled appropriately to fit texture files, typically in powers of two, such as 64×64 or 128×128 pixels. Using textures with too low a resolution causes blurriness while huge textures can impact performance.
Conclusion
Mastering Blockbench UV maps is essential for creating clean, professional-looking Minecraft textures. With the proper use of tools like Auto UV, Seam Tool, and manual UV adjustments, you can ensure your textures align perfectly and look great in-game.
Whether you’re designing simple block models or complex custom entities, understanding how UV mapping works in Blockbench will significantly improve your texturing workflow and results.
FAQs
What is the best UV mapping method for Minecraft models?
For blocky or simple Minecraft models Box UV works well but for detailed or custom textures, Per-Face UV offers more control and precision.
Can I use Blockbench Auto UV for complex Minecraft textures?
Yes, Blockbench Auto UV provides a fast base layout but complex Minecraft textures often require manual tweaks for clean results.
How do I export UV maps for Minecraft texture painting?
Go to the UV Editor click Export UV Layout to save a PNG template that you can paint on in external programs like Photoshop or GIMP.
Is it possible to edit UV maps after texturing has been applied?
Yes, you can adjust Blockbench UV maps at any time even after applying textures to correct alignment or enhance texture appearance.
How do seams affect Minecraft textures in Blockbench?
Seams define where textures split on your model. Poor seam placement can cause visible breaks while strategic seams keep Minecraft textures seamless.
Can I use external software with Blockbench UV maps?
Absolutely! Export your UV layout and paint it in external tools like Photoshop, GIMP, or Aseprite for more advanced texture editing.
What’s the easiest way to avoid texture stretching?
Use proper unwrapping, align UV islands, and preview your model regularly in Blockbench to ensure your Minecraft textures stay sharp and even.
How to Preview Minecraft Textures Accurately in Blockbench?
Use the Preview Panel in Blockbench with lighting enabled, or test the model directly in Minecraft for real-world texture validation.
Latest post:

Harold F. Rodriguez
Harold F. Rodriguez, the visionary mind behind blockbench.org, is a passionate and innovative individual dedicated to the world of technology. With a profound understanding of software development and a commitment to excellence, Harold has carved his niche in the digital realm. His journey is marked by a relentless pursuit of creating user-friendly solutions that redefine the landscape of online platforms. As the driving force behind blockbench.org, Harold continues to inspire and contribute to the ever-evolving tech community, leaving an indelible mark on the intersection of creativity and technology.