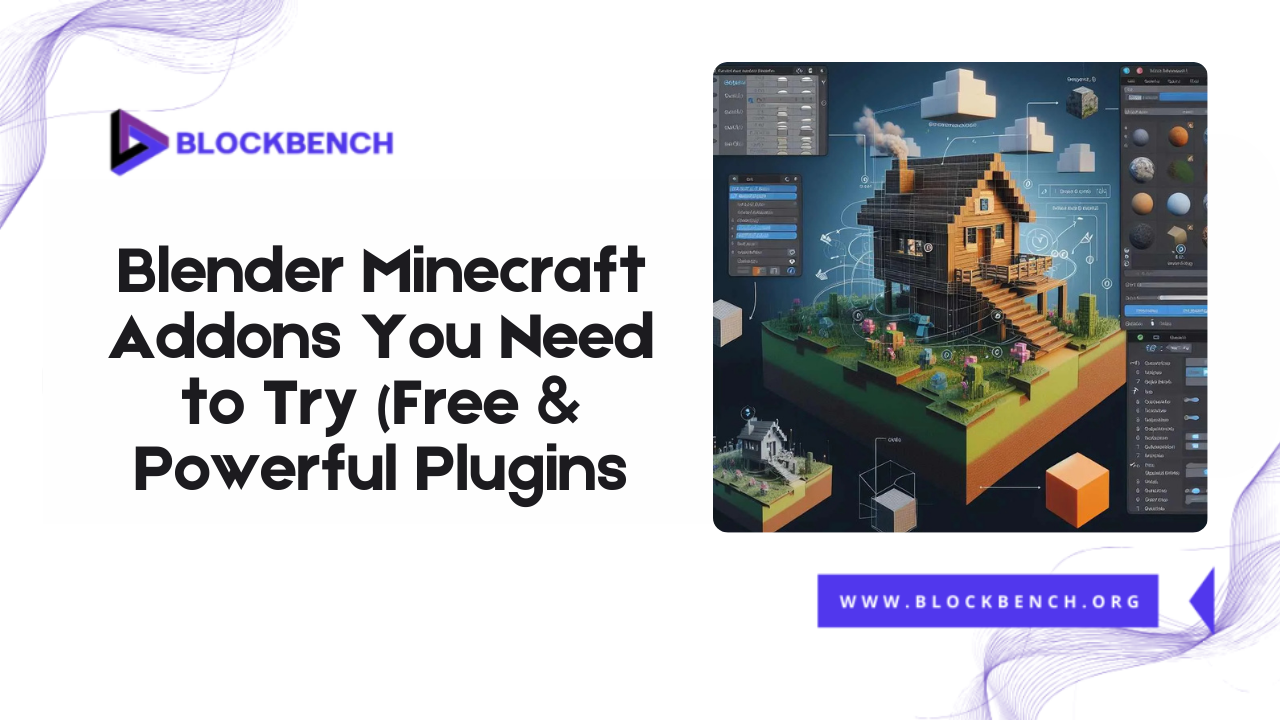
Introduction
Blender is one of the most powerful and versatile 3D tools available, and when combined with the correct Minecraft addons, it becomes a game-changer for Minecraft creators. Whether you’re designing custom characters, rendering cinematic scenes, or animating entire Minecraft worlds, Blender offers a professional-grade environment to bring your blocky visions to life.
Why Use Blender Addons for Minecraft Projects
Blender is already a powerhouse in the 3D design world, but when it comes to Minecraft, its true potential is unlocked through specialized addons. These tools extend Blender’s native capabilities, allowing creators to import Minecraft worlds, apply realistic lighting, rig characters, and animate scenes with precision.
How Addons Can Enhance Minecraft Modeling and Animation
Addons automate repetitive tasks, provide pre-built rigs, and simplify the import/export process between software like Blockbench and Blender. Whether you’re building custom mobs or rendering cinematic Minecraft scenes, these plugins ensure your models stay true to the game’s visual style while benefiting from Blender’s advanced rendering, lighting, and animation systems.
What Are Blender Minecraft Addons and Why Are They Useful?
Blender Minecraft addons are special tools or plugins designed to integrate Minecraft content directly into Blender, the popular 3D modeling software. These addons make it easier to import, create, edit, and export Blockbench Minecraft models and animations within Blender’s environment. Learning how to make Minecraft models and how to make Minecraft models in Blender ensures a smooth workflow from modeling in Blockbench to advanced editing in Blender.
Overview of Blender’s Plugin Support
Blender features a flexible plugin system that enables developers to create custom tools that integrate seamlessly into the interface. These range from modeling utilities and rigging kits to import/export scripts tailored for Minecraft. Blender Minecraft add-ons are often community-built and free, making them accessible to creators at all levels.
How Addons Simplify Minecraft Asset Creation
Instead of modeling every block or character by hand, addons can auto-generate Minecraft-style geometry, textures, and animations. For example, plugins can convert blockbench Minecraft models into Blender-friendly formats, saving time and preserving design accuracy. This is especially valuable when working on large projects, such as Minecraft animations, YouTube content, or modded scenes.
Installing Blender Addons for Minecraft
Installing Blender addons for Minecraft is a straightforward process that helps enhance your workflow when working with Minecraft models and assets. First you need to download the addon file which usually comes in a .zip format from a trusted source such as GitHub or a dedicated Blender addon repository.
Where to Find Free Blender Minecraft Addons
Many top-tier Minecraft addons can be found on GitHub, Blender Artists forums, and creators’ websites. Popular names like MCprep and Mineways are widely shared in the Minecraft animation community. Always verify the addon version is compatible with your Blender version to avoid issues.
Step-by-Step Guide to Installing Plugins in Blender
- Download the .zip file of the addon (do not unzip it).
- Open Blender and go to Edit Preferences Addons.
- Click Install locate the .zip file and then select it.
- Enable the addon from the list once it appears.
- Save preferences to keep it active across sessions.
Tips for Managing Multiple Addons
If you’re using several Blender Minecraft addons, organize them in folders and label them clearly. Turn off any unnecessary plugins to improve performance. You can also use Blender’s search function in the Addons menu to quickly toggle specific tools as needed.
Top Free Blender Minecraft Addons You Should Try
There are several free Blender addons that Minecraft creators should definitely try to enhance their workflow and creativity. One popular add-on is Mineways Exporter, which allows you to easily import and export Minecraft worlds between Blender and Minecraft, making map editing much simpler. Another great tool is the Blockbench Import/Export Addon, which helps seamlessly move custom models and animations between Blockbench and Blender.
MCprep: The All-in-One Minecraft Blender Toolkit
MCprep is one of the most potent and beginner-friendly Blender Minecraft add-ons available. Explicitly designed for Minecraft animation and rendering, it automates many time-consuming steps in the creative process. With just a few clicks, it sets up proper scene lighting, applies Minecraft-style shaders, assigns materials correctly, and imports ready-made rigs that maintain Minecraft’s signature blocky look.
Mineways: For Importing Minecraft Worlds into Blender
Mineways is essential for creators who want to bring their actual Minecraft builds into Blender for high-quality rendering. This free tool allows you to export parts of your Minecraft world (structures, landscapes, or entire biomes) as 3D models compatible with Blender.
Blockbench to Blender Importers (GLTF/OBJ Plugins)
When transitioning from Using Blockbench to Blender having reliable import and export tools is essential. Blockbench supports exporting to .glTF and.OBJ formats, both of which are easily imported into Blender with the help of dedicated plugins. These formats preserve essential aspects, such as UV maps, textures, and geometry, ensuring that your Blockbench Minecraft models appear exactly as intended once imported into Blender.
Sprite Fright Addon (For Stylized Minecraft Scenes)
Initially developed for Blender’s open movie project Sprite Fright, this add-on enhances stylization within Blender projects. While not Minecraft-specific it can be used to apply toon shading, bold outlines, and vibrant lighting setups perfect for creators looking to give their Minecraft animations a more cinematic or cartoon-inspired look. Suppose you’re aiming for a unique visual twist on typical Minecraft content.
Rigify for Minecraft Character Rigging
Rigify is Blender’s native rigging system that can be adapted for Minecraft characters with square limbs and stiff joints. While Blockbench includes basic animation tools Blender with the addition of Rigify, allows for advanced inverse kinematics (IK), facial rigs and pose libraries. It’s ideal for creators who want fluid, game-style character motion or are working on larger cinematic projects.
Blender’s Asset Browser for Minecraft Project Organization
As your Minecraft modeling and animation projects grow, keeping everything organized becomes critical. Blender’s Asset Browser helps you categorize and manage your models, textures, rigs, and lighting setups all in one convenient workspace. Tag your assets, preview them visually, and drag them directly into new projects without having to dig through folders.
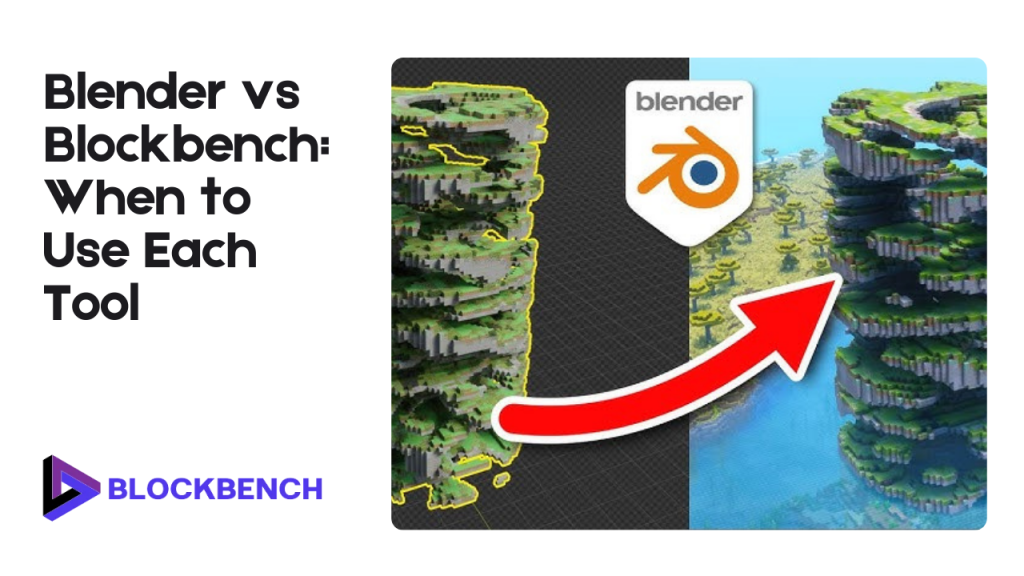
Blender vs Blockbench: When to Use Each Tool
Choosing between Blender and Blockbench depends mainly on your project goals and skill level when working with Minecraft models.Blockbench is designed explicitly for creating blockbench Minecraft models with a Minecraft-style aesthetic. Its user-friendly, block-based interface makes it perfect for beginners or those focused on quick, game-ready designs. simple animations.
Strengths of Blockbench for Minecraft Modeling
Blockbench is tailor-made for creating blockbench minecraft models, especially those destined for Minecraft itself. Its intuitive cube-based modeling interface matches Minecraft’s style perfectly, making it ideal for beginners or those focusing on simple character and block designs. The ease of adding textures, animations, and exporting directly in Minecraft-friendly formats makes Blockbench a go-to tool for quick and efficient model creation.
When Blender Becomes the Better Option
While Blockbench excels in simplicity, Blender offers unmatched power and flexibility for complex modeling, animation, and rendering. If you want to create cinematic scenes, advanced character rigs, or apply realistic lighting and effects to your Blockbench Minecraft models, Blender is the superior choice. Just as mastering how to change perspective in Minecraft enhances gameplay versatility, using Blender alongside Blockbench expands creative possibilities.
Workflow Tips for Moving from Blockbench to Blender
A smooth transition from blockbench to blender starts with choosing compatible export formats like glTF or OBJ. Always keep textures organized and check scaling to prevent import issues. Use dedicated import plugins in Blender designed for Minecraft assets to preserve animation data and geometry. This hybrid workflow lets you leverage Blockbench’s ease of modeling alongside Blender’s powerful animation and rendering tools.
Creating Minecraft Animations with Blender Addons
Animating Minecraft characters and scenes in Blender becomes significantly easier and more efficient with the help of specialized Blender Minecraft addons. These plugins streamline the rigging and animation process, allowing creators to focus more on creativity and less on technical hurdles. This is similar to how learning how to change view in Minecraft helps players balance immersion with better perspective control.
Using Addons for Rigging Characters
Many Blender Minecraft addons simplify the rigging process by providing pre-built Minecraft-style skeletons or automating bone placement with tools like Rigify. These addons let you quickly set up armatures tailored for blocky characters, making it easier to animate limbs and heads realistically while maintaining the iconic Minecraft aesthetic.
Applying Motion to Minecraft Mobs and Players
Once rigged, you can use Blender’s animation tools alongside addons to create walk cycles, attack animations, and idle behaviors for your Minecraft mobs and players. Keyframing, pose libraries, and animation curves help craft smooth, game-ready motions that bring your blockbench minecraft models to life within cinematic sequences or mod projects.
Lighting and Rendering Tips for Minecraft Scenes
To maintain the blocky charm of Minecraft while benefiting from Blender’s photorealistic rendering, use flat lighting or soft shadows that mimic in-game illumination. Addons like MCprep can automate setup with Minecraft-style lighting rigs. For final renders, consider using Blender’s Eevee engine for fast previews or Cycles for high-quality output, balancing speed and detail for your project needs.
Exporting and Sharing Minecraft Creations from Blender
After investing time in modeling and animating your Minecraft creations using Blender Minecraft addons the next crucial step is to export and share your work efficiently. Proper export settings and file formats ensure your models and animations retain their quality and compatibility, whether you plan to use them in Minecraft mods resource packs or other 3D applications.
Best Render Settings for Minecraft-Style Scenes
When rendering Minecraft models, keep your settings optimized to preserve the signature pixelated look. Use low-resolution textures and avoid excessive smoothing or subdivision. Adjust anti-aliasing to prevent blurring edges, and consider rendering at resolutions that match Minecraft’s block scale for authenticity.
File Formats and Optimization for Sharing or Re-importing
Export your Minecraft creations from Blender in formats compatible with Minecraft or other 3D applications. Popular choices include .glTF for animations and textures OBJ for static models and .FBX for rigs and animated sequences. Compress textures and clean unused data to reduce file size making it easier to share your creations or re-import them into tools like Blockbench.
Compatibility with Game Engines or Minecraft Mods
Blender models exported using the right formats and properly optimized can be integrated into Minecraft mods or external game engines. For modding, ensure your models follow Minecraft’s coordinate and texture conventions. Some Blender Minecraft addons help automate these adjustments, improving compatibility and reducing manual fixes during game development.
Conclusion
In conclusion, Blender offers a wide range of free and powerful addons that can significantly enhance your Minecraft modeling and animation workflow. Whether you’re creating custom blocks, entities, or intricate animations, these plugins simplify the process and boost your creativity.
Trying out these addons will not only save you time but also open up new possibilities for bringing your Minecraft ideas to life. So, explore these tools and take your Minecraft projects to the next level!
FAQs
What are the best free Blender add-ons for Minecraft?
Popular free addons include MCprep Mineways and Rigify which simplify importing, rigging, and animating Minecraft models efficiently.
Can I import Minecraft worlds directly into Blender?
Yes, tools like Mineways allow you to export Minecraft worlds into Blender-compatible formats for detailed editing and rendering.
How do I animate Minecraft characters using Blender?
Use addons like Rigify to rig Minecraft models, then apply Blender’s keyframe animation tools to create smooth character movements.
What’s the easiest way to convert Blockbench models to Blender?
Export your model from Blockbench as a .glTF or .obj file.OBJ file and import it into Blender using compatible addons for a seamless workflow.
Are Blender addons safe to install and use?
Most popular addons are safe when downloaded from official or trusted sources, such as GitHub or Blender’s community forums.
Do I need coding skills to use Minecraft addons in Blender?
No coding skills are required; most addons come with user-friendly interfaces and clear installation instructions.
How do I fix texture issues after importing Minecraft models?
Check UV maps and ensure textures are correctly linked; sometimes reassigning materials or adjusting export settings resolves alignment problems.
Is Blender better than Blockbench for Minecraft animations?
Blender offers more advanced animation and rendering features, while Blockbench is simpler for modeling and basic animations, and they are best used together.
Latest post:

Harold F. Rodriguez
Harold F. Rodriguez, the visionary mind behind blockbench.org, is a passionate and innovative individual dedicated to the world of technology. With a profound understanding of software development and a commitment to excellence, Harold has carved his niche in the digital realm. His journey is marked by a relentless pursuit of creating user-friendly solutions that redefine the landscape of online platforms. As the driving force behind blockbench.org, Harold continues to inspire and contribute to the ever-evolving tech community, leaving an indelible mark on the intersection of creativity and technology.